Lab-5-2
(3.33 % of the course mark)
Mutation Testing
- This lab introduces mutation testing using Stryker, a powerful mutation testing framework. Mutation testing evaluates test quality by introducing small changes (mutants) to the source code and checking if the existing tests can detect them. The goal is to improve test effectiveness by identifying weak spots in the test suite. Participants will configure Stryker in a project, run mutation tests, analyze reports, and enhance their test cases accordingly.
Lab objectives
-
Understand mutation testing concepts.
-
Gain hands-on experience with Stryker.
-
Learn to analyze mutation reports to identify weak tests.
-
Improve test coverage and overall software quality.
Create Stryker-App Mutation App
-
Create a folder named: Stryker-App.
-
Open Visual Studio Code, open the folder named: Stryker-App and open the terminal.
-
Type the following commands and press enter:
npm init -y
npm install -D @stryker-mutator/core
npm install -D @stryker-mutator/jest-runner
npm install -D jest
npx stryker init
-
Follow the prompts and choose the following values:
-
None/other
-
jest
-
Leave the default selection
-
npm
-
JSON
-
-
Press ctrl c to terminate the Stryker config app.
-
Modify stryker.config.json and on the top of the file add the following:
 "mutate": ["**/*.js"],
  "symlinkNodeModules": false,
- Create a file named: calculator.js and enter the code below:
function add(a, b) {
  return a + b;
}

function isPositive(num) {
  return num > 0;
}

module.exports = { add, isPositive };
- Create a file named: calculator.test.js and enter the code below:
const { add, isPositive } = require("./calculator");

test("Adds two numbers", () => {
  expect(add(2, 3)).toBe(5);
});

test("Checks if number is positive", () => {
  expect(isPositive(10)).toBe(true);
  expect(isPositive(-5)).toBe(false);
});
- Go to the terminal and type the command below and press enter:
npx stryker run
-
Take a screenshot of the command line output and name it stryker01.png.
-
Navigate to reports / mutation, right click on mutation.html and click on Open with Live Server.
-
Take a screenshot of the webpage and name it stryker02.png.
Submission
-
Create a folder named submit.
-
Copy all (stryker01.png and stryker02.png) the previously saved screenshots to this folder.
-
Create a zip file of this folder.
-
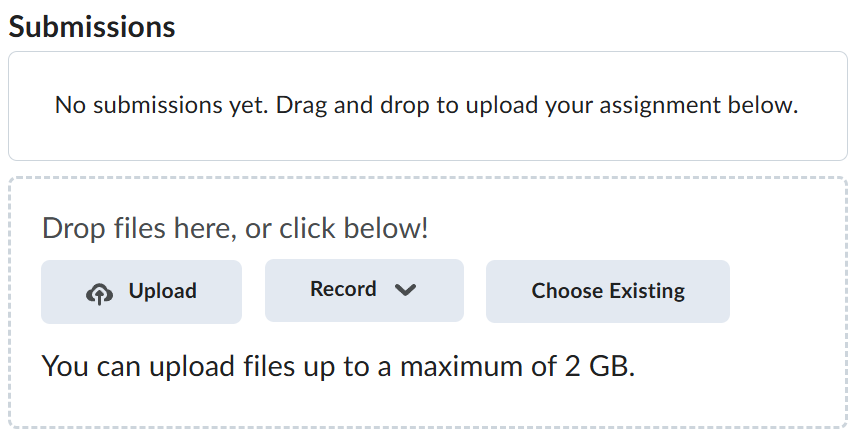
Navigate back to where the lab was originally downloaded, there should be a Submissions section (see below) where the zip file can be uploaded.
