Lab-5-1
(3.33 % of the course mark)
Risk Based Testing
- Risk-based testing (RBT) prioritizes test cases based on the potential impact and likelihood of failure. Using Postman, testers can validate API functionality, security, and integration risks. JMeter is used for performance and load testing to assess system stability under risk-prone conditions.
Lab objectives
-
Identification of high-risk areas in API and system performance.
-
Optimized test coverage focusing on critical functionalities.
-
Improved API reliability through functional, security, and performance testing.
-
Data-driven insights for mitigating risks before production deployment.
Setup and execute Bank-App
-
Download and extract the file Lab-5-1.zip.
-
Open Visual Studio Code and open the folder of the directory where the folders and files were extracted. Navigate to the folder named Bank-App.
-
Open the terminal and ensure that you are on the root folder of Bank-App.
-
Type the following commands and press enter:
npm install
npm run start
Postman Testing - Transfer Amount
-
Open Postman and click on New > HTTP Request.
-
Change the method to POST and set the url to localhost:3000/accounts.
-
Click on the Body tab and choose raw and select JSON.
-
On the request text box enter the following text below:
{
  "accountNumberFrom": "000000001",
  "accountNumberTo": "000000002",
  "amount": "1"
}
- Click on Send and take a screenshot of the result and name it post-man-01.png.
Postman Testing - Same Account
-
Use the same request as from the previous section.
-
On the request text box enter the following text below:
{
  "accountNumberFrom": "000000001",
  "accountNumberTo": "000000001",
  "amount": "1"
}
- Click on Send and take a screenshot of the result and name it post-man-02.png.
Postman Testing - Invalid Source Account
-
Use the same request as from the previous section.
-
On the request text box enter the following text below:
{
  "accountNumberFrom": "AAAAAAAAA",
  "accountNumberTo": "000000002",
  "amount": "1"
}
- Click on Send and take a screenshot of the result and name it post-man-03.png.
Postman Testing - Invalid Destination Account
-
Use the same request as from the previous section.
-
On the request text box enter the following text below:
{
  "accountNumberFrom": "AAAAAAAAA",
  "accountNumberTo": "000000002",
  "amount": "1"
}
- Click on Send and take a screenshot of the result and name it post-man-04.png.
Postman Testing - Non Positive Transfer Amount
-
Use the same request as from the previous section.
-
On the request text box enter the following text below:
{
  "accountNumberFrom": "000000001",
  "accountNumberTo": "000000002",
  "amount": "0"
}
- Click on Send and take a screenshot of the result and name it post-man-05.png.
Postman Testing - Custom Testing
-
Use the same request from the previous section. Consider how you can test this app in ways that have not been covered yet.
-
In the request text box, enter the custom payload required to support the test you have designed.
-
Click on Send and take a screenshot of the result and name it post-man-06.png.
JMeter Performance Testing
-
On the bin directory of JMeter, open ApacheJMeter.jar.
-
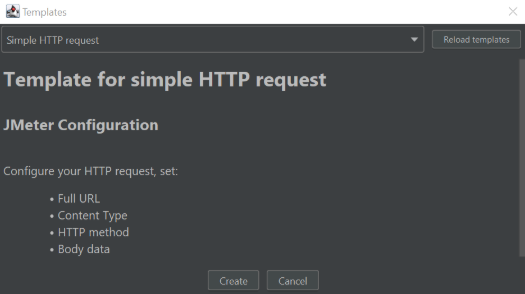
Click on File > Templates.
-
On the drop down list choose: Simple HTTP Request.
-
Click on Create.
-
Set the following values:
-
method: POST
-
content-type: application/json
-
body: Copy the json code below.
-
{
  "accountNumberFrom": "000000001",
  "accountNumberTo": "000000002",
  "amount": "1"
}
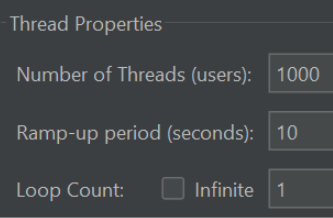
- On the left side of the app, click on Thread Group and set the following:
-
Right click on Test Plan then choose Add > Listener > Summary Report.
-
Click on the
 to start the test. If there is a prompt to save the test, choose No.
 -
Take a screenshot of the Summary Report and name it jmeter-01.png.
Submission
-
Create a folder named submit.
-
Copy all (post-man-01.png, post-man-02.png, post-man-03.png, post-man-04.png, post-man-05.png, post-man-06.png and jmeter-01.png) the previously saved screenshots to this folder.
-
Create a zip file of this folder.
-
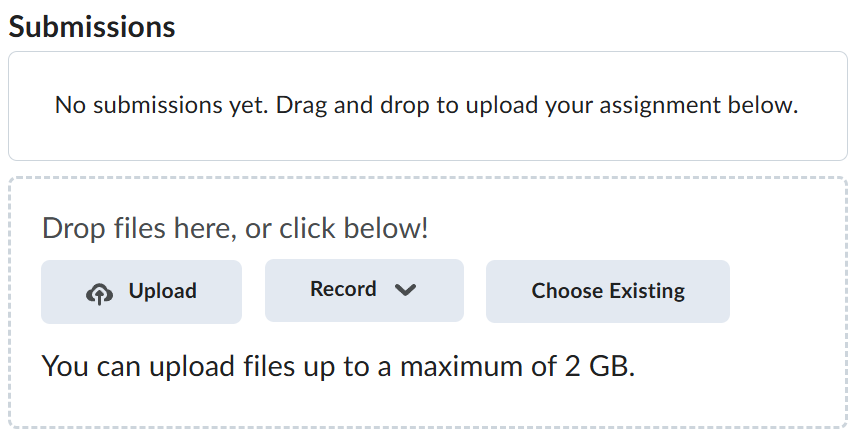
Navigate back to where the lab was originally downloaded, there should be a Submissions section (see below) where the zip file can be uploaded.