Lab-3-2
(5 % of the course mark)
ESLint code linter
- This lab introduces ESLint, a popular JavaScript linter, used to identify and fix problems in your code. Participants will set up ESLint in a JavaScript or React project, configure rules, and practice resolving common linting issues to maintain code quality and consistency.
Lab objectives
-
Install and configure ESLint in a project.
-
Understand and apply ESLint rules to enforce coding standards.
-
Identify and fix common linting issues in JavaScript code.
-
Integrate ESLint with code editors for real-time feedback.
-
Use ESLint with Prettier for formatting and linting consistency.
ESLint-App Setup
-
Open Visual Studio Code, create a folder named ESLint-App.
-
Open the terminal and change the directory to ESLint-App.
-
Initialize the app by typing the command below and press enter.
npm init -y
- On the terminal type the command below and press enter.
npm install -D eslint
- You can auto-configure ESLint by typing the command below.
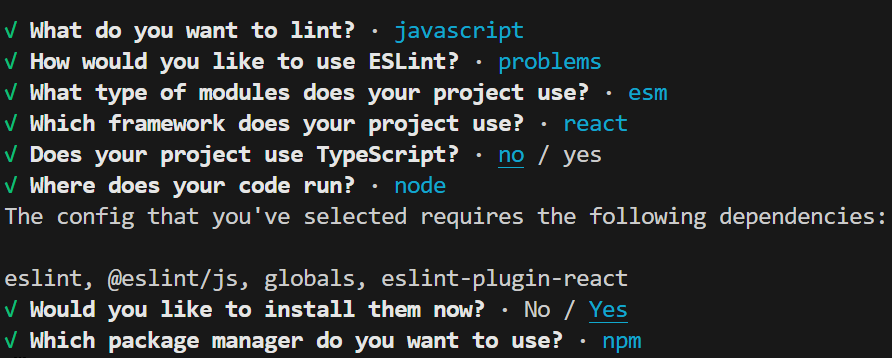
npx eslint --init
- Follow the onscreen prompts and install any dependecies if required. Ensure that the same values are using when configuring eslint.
To set value for the question: Where does your code run? Press i to choose node.
- Create a file named: .eslintrc.js and copy the code below.
module.exports = {
  env: {
    browser: true,
    es2021: true,
    node: true,
  },
  extends: [
    "eslint:recommended",
    "airbnb-base", // if using Airbnb style
  ],
  parserOptions: {
    ecmaVersion: "latest",
    sourceType: "module",
  },
  rules: {
    "no-var": "error",
    "no-eval": "error",
    "no-unused-vars": "warn",
    "no-undef": "error",
    eqeqeq: "error",
    "no-console": "warn",
    indent: ["error", 2],
    semi: ["error", "always"],
    "consistent-return": "warn",
    "max-nested-callbacks": ["warn", 2],
    "no-magic-numbers": ["warn", { ignore: [0, 1] }],
  },
};
- Install the Airbnb style guide by typing the commands below.
npx install-peerdeps --dev eslint-config-airbnb-base
- Create a file named: bad-code.js and enter the code below.
var a = 10;
b = 20;
function go() {
  setTimeout(function () {
    var x = 5;
    console.log("start");
    setTimeout(function () {
      y = x + 3;
      if (y == 8) {
        eval("console.log('evaled')");
      }
      setTimeout(function () {
        var z = 42;
        console.log("result is", y + z);
      });
    });
  });
}

function mysteryCalc(n) {
  if (n > 100) {
    return 1234;
  } else if (n < 0) {
    return -999;
  }
  if (n == 42) {
    return "magic";
  }
  const unused = 99;
}

go();
mysteryCalc(42);
- Execute ESLint code linter by typing the command below.
npx eslint bad-code.js
- This should produce a report listing the detected errors and warnings in the file bad-code.js. Scroll through the report to view each issue, which includes:
-
A description of the error or warning.
-
The ESLint rule that was violated.
-
The line number where the issue occurs.
-
Scroll down to see the total number of problems flagged. Take a screenshot of the full report and name it eslint-problems.png.
-
ESLint has a option to fix some of the problems that was detected. Execute ESLint code linter with fix option by typing the command below.
npx eslint --fix bad-code.js
-
Compare this output with the previous one generated without the --fix flag. You should notice fewer issues reported, as ESLint has automatically fixed some of the problems.
-
Scroll down to view the total number of remaining problems. Take a screenshot of the full report and name it eslint-problems-fixed.png.
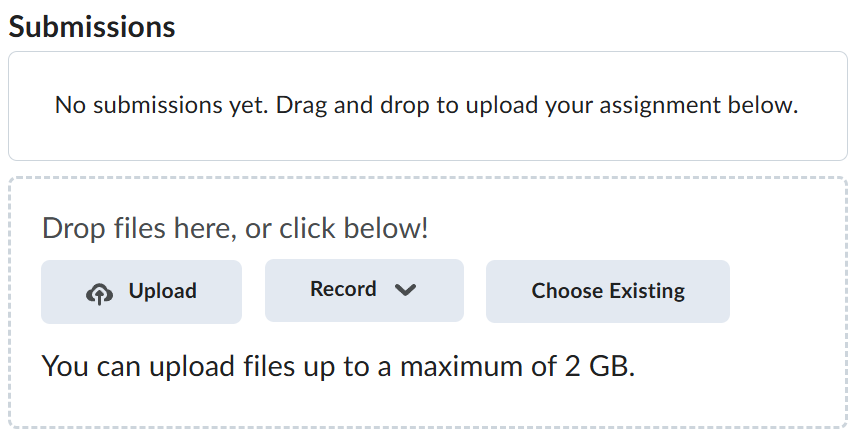
Submission
-
Create a folder named submit.
-
Copy all (eslint-problems.png and eslint-problems-fixed.png) the previously saved screenshots to this folder.
-
Create a zip file of this folder.
-
Navigate back to where the lab was originally downloaded, there should be a Submissions section (see below) where the zip file can be uploaded.