Lab-3-1
(5 % of the course mark)
Cypress End-to-End and Component Testing
- This lab introduces Cypress for both end-to-end (E2E) and component testing in modern web applications. Participants will learn how to write, execute, and debug tests using Cypress, integrating best practices for UI and API testing in a Vite-powered React app.
Lab objectives
-
Set up Cypress for both E2E and component testing.
-
Write and execute tests for UI components and full user workflows.
-
Debug and analyze test results effectively.
Cypress End-To-End (E2E) Testing
-
Open Visual Studio Code, create a folder named Cypress-App.
-
Open the terminal and change the directory to Cypress-App.
-
Initialize the app by typing the command below and press enter.
npm init -y
- Install Cypress by typing the command below and press enter.
npm install -D cypress
-
The latest version of Cypress appears to be broken. If you encounter an error during installation, try the following fixes:
-
Delete the node_modules folder.
-
Update package.json and update the value of cypress to ^14.3.0.
-
On the terminal type command below and press enter.
-
npm install
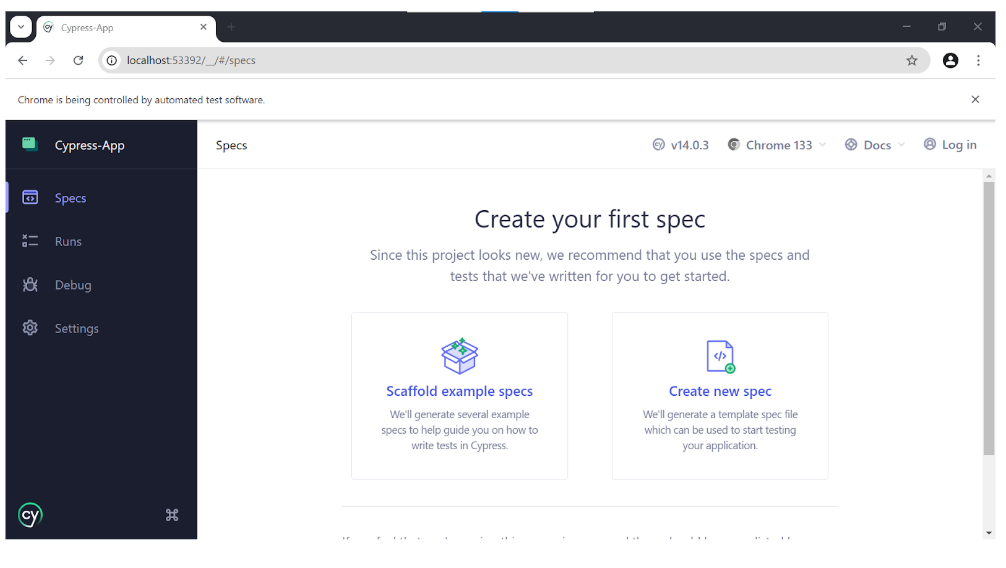
- On the terminal, type the command below and press enter. This should open the Cypress app and you should see the figure below.
npx cypress open
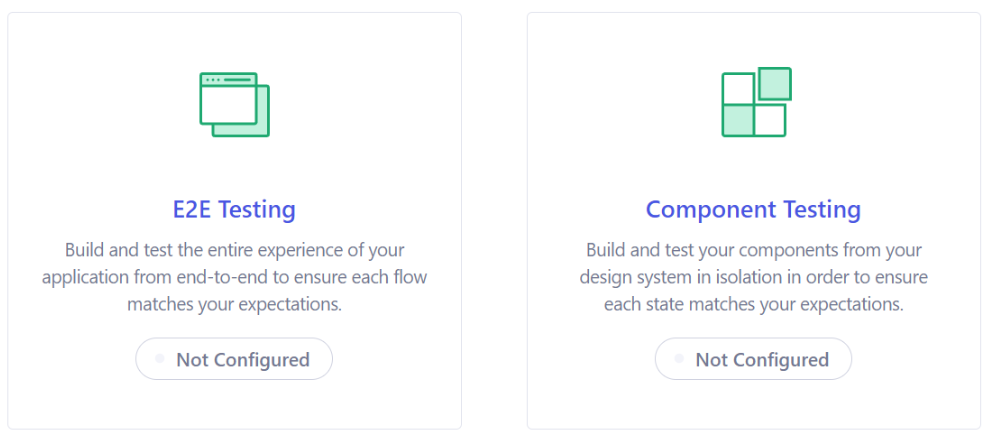
- Click on the E2E Testing tile. The next screen will take a few moments to appear.
-
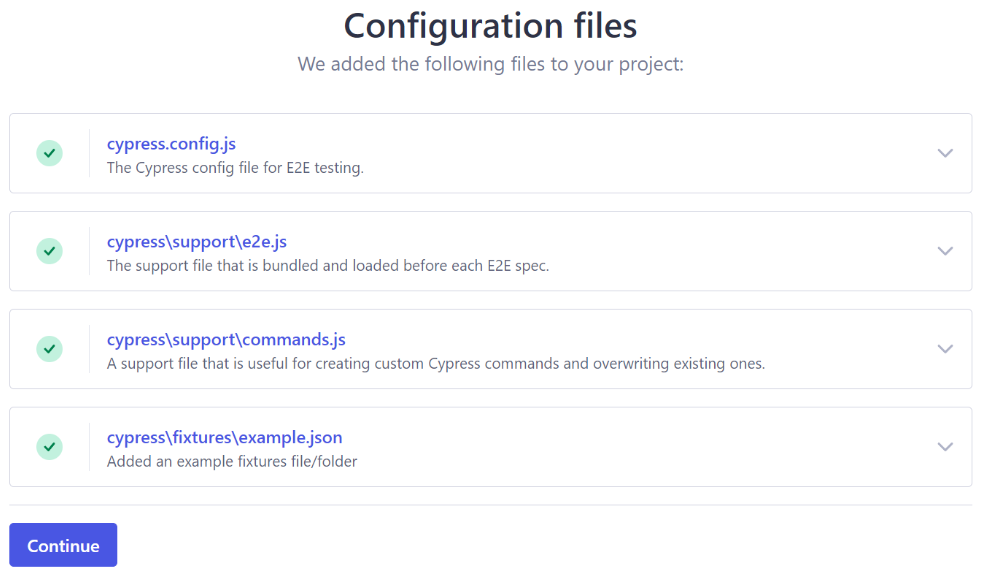
Click on Continue.
-
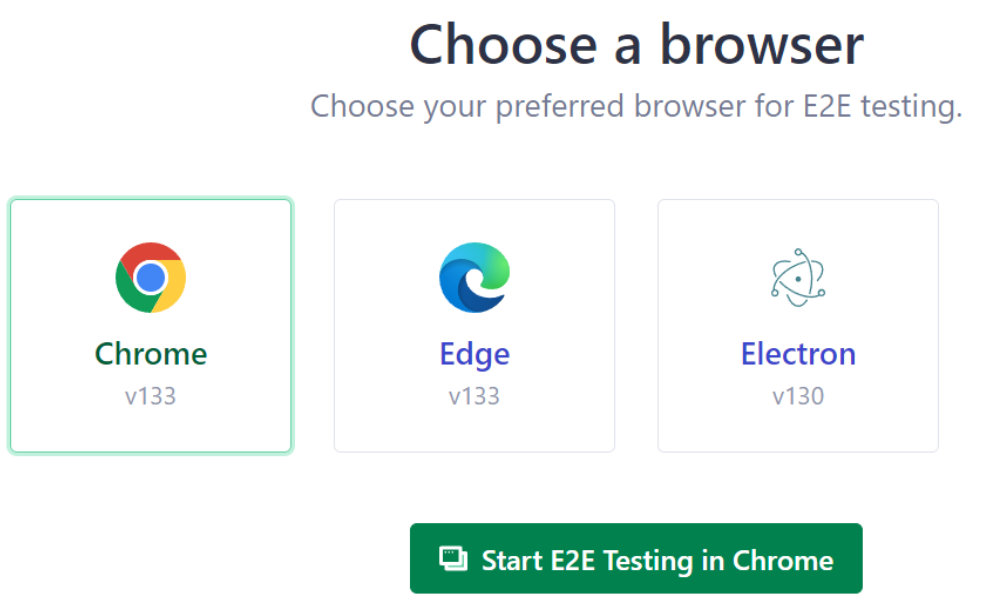
Choose Chrome and click on Start E2E Testing in Chrome. This should open a new Chrome browser.
- If you encounter a blank screen just click on the refresh button of the browser or right click on the browser and choose Reload. If that does not work terminate the Cypress app and start it again by typing the command below and press enter.
npx cypress open
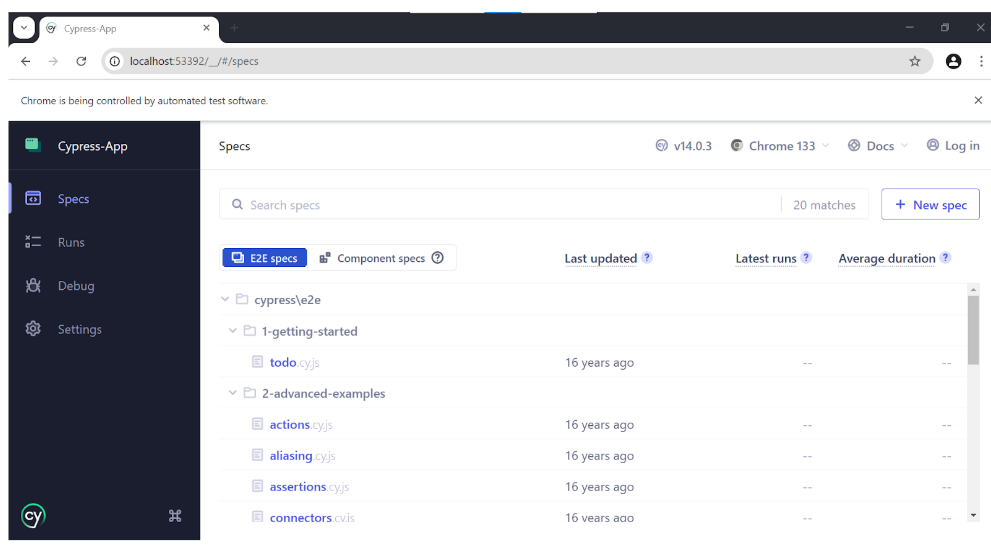
- Click on the Scaffold example specs tile and Ok, I got it!. Cypress will create different types of sample tests.
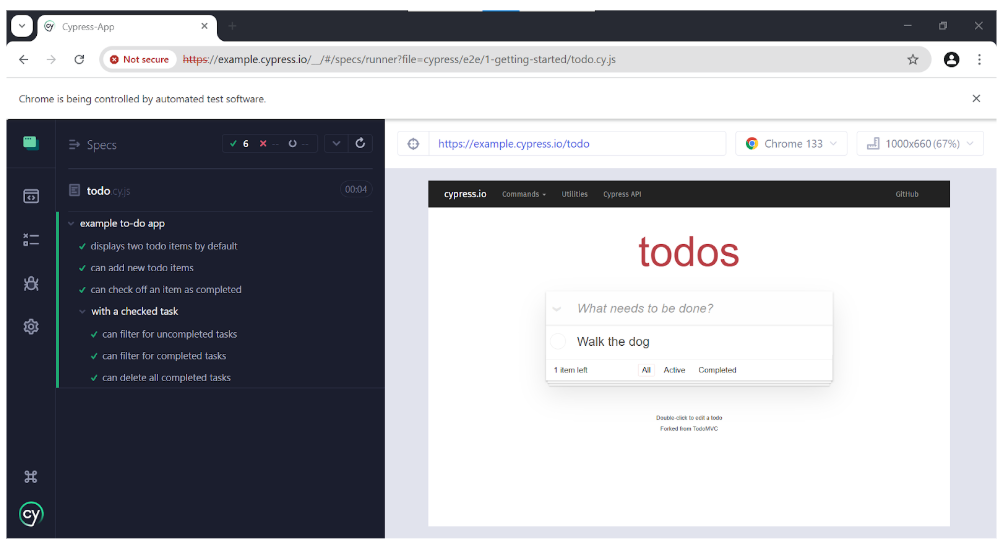
- Click on todo.cy.js to run the test.
- If you encounter a blank screen just click on the refresh button of the browser or right click on the browser and choose Reload. If that does not work terminate the Cypress app and start it again by typing the command below and press enter.
npx cypress open
-
Open Visual Studio Code navigate to cypress/e2e/1-getting-started. Open the file todo.cy.js to view the source code of the test and read the comments to understand what each line is doing.
-
Go back to the testing browser and click on the Specs icon.

-
Choose any from the list of the advanced examples, take a screenshot of the result and name it: cypress-advanced-examples.png.
-
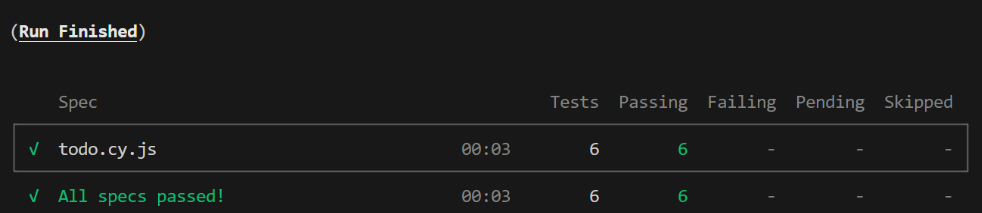
Cypress E2E can also run via headless mode. On the terminal, ensure that the current directory is the root of the app. Type the command below and press enter.
npx cypress run --spec ./cypress/e2e/1-getting-started/todo.cy.js
-
Run another headless test file, Use the same command from step 14 but change the value of the location to match the location and name of the file on step 13. Take a screenshot of the results and name it: cypress-advanced-examples-headless.png.
-
Go back to the testing browser and click on the Specs icon.
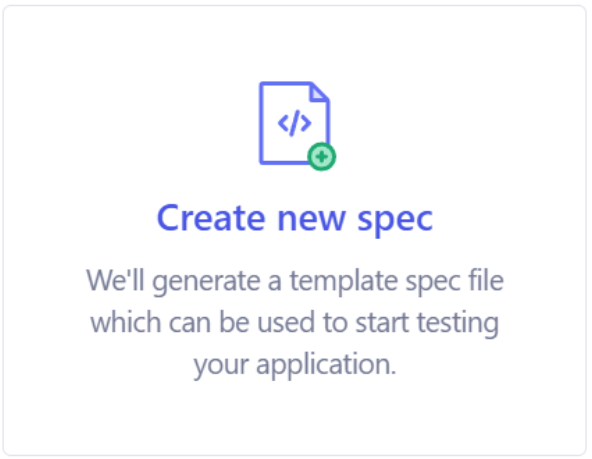
- Click + New spec to create a new test file.
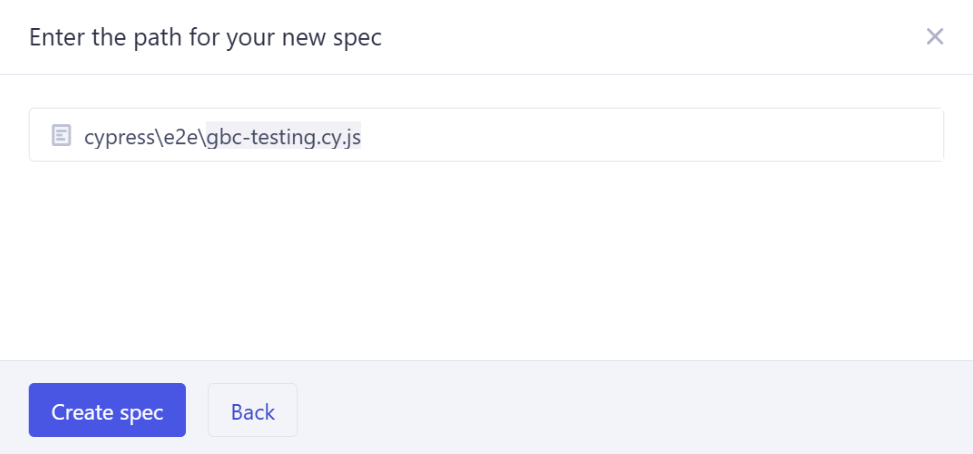
- Change the name to: gbc-testing.cy.js and click on Create spec.
-
Close the result dialog.
-
Open Visual Studio Code open the file: cypress/e2e/gbc-testing.cy.js to overwrite the contents with the code below:
describe("GBC Coned Registration Cart Test Step 1", () => {
  beforeEach(() => {});

  it("passes", () => {
    // Navigate to the GBC Coned site
    cy.visit("https://coned.georgebrown.ca");

    // Look of the search input element, then type the string: COMP9788 and press enter
    cy.get("#gsc-i-id1").type(`COMP9788{enter}`);

    // On the resulting page click on the first link
    cy.get(".gs-title").first().click();

    // Look for the result that has an active register now button
    cy.get('[title="Register Now"]')
      .first()
      .invoke("attr", "href") //  Copy the href attribute, we will use the url to navigate to the cart
      .then((attributeValue) => {
        // Use the origin function to go to a different domain, because the cart page is hosted on a different domain
        cy.origin(
          "https://stuview.georgebrown.ca",
          { args: { attributeValue } },
          ({ attributeValue }) => {
            // Clean up the href attribute by extracting just the url
            cy.visit(
              attributeValue.substring(
                attributeValue.indexOf("'") + 1,
                attributeValue.indexOf("&action")
              )
            );

            // Scroll to bottom of the page
            cy.scrollTo("bottom");

            // Look for the callout element and scroll down to the bottom to activate the checkbox
            cy.get(".callout.scroll", { timeout: 10000 })
              .should("be.visible")
              .scrollTo("bottom");

            // Look for checkbox label and click on it
            cy.get("#policy_ind_label").click();

            // Click on the continue button
            cy.get("#step_1_continue").click();
          }
        );
      });
  });
});
- Go back to the testing browser and click on the Specs icon.
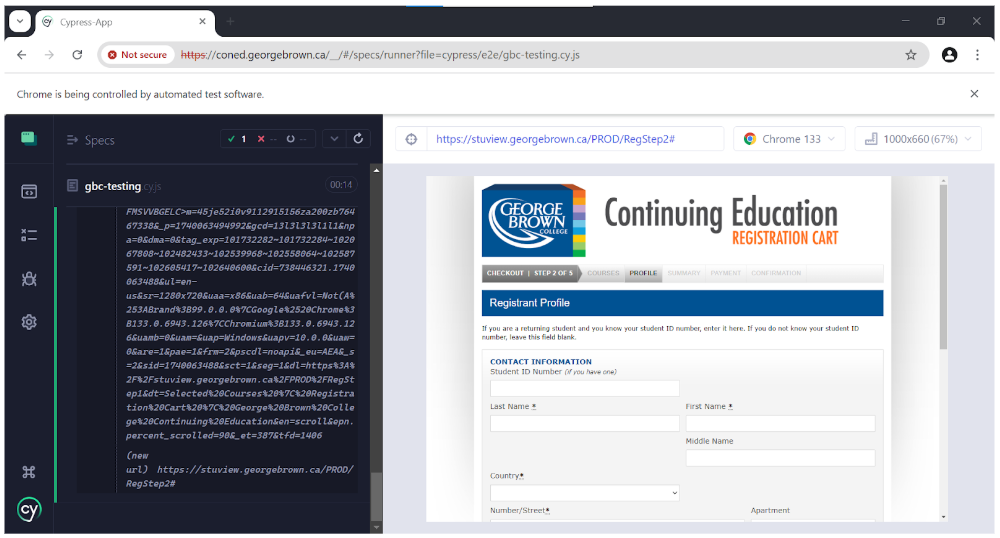
- Click on gbc-testing.cy.js to run the test. Take a screenshot of your results and name it: cypress-gbc-testing.png.
- If you encounter a blank screen just click on the refresh button of the browser or right click on the browser and choose Reload. If that does not work terminate the Cypress app and start it again by typing the command below and press enter. Due to some background Google analytics code issues, You might have to try this a few times to get the results below.
npx cypress open
- On the terminal, ensure that the current directory is the root of the app. Type the command below and press enter. The results of the test are displayed on the terminal. Take a screenshot and name it: cypress-gbc-testing-headless.png.
npx cypress run --spec ./cypress/e2e/gbc-testing.cy.js
-
There would be instance where the test fails. If it does scroll to read the error as well as click on the screenshot link to see additional information about the error.
-
Navigate to cypress/screenshots/gbc-testing.cy.js and rename the screenshot png file as: cypress-gbc-testing-headless-error.png.
- Terminate the cypress app when done.
Cypress Component Testing - React Vite Setup
- On the terminal, create a Vite React app by typing the command below and press enter.
npm create vite@latest react-app -- --template react
There might be cases where you are prompted to install additional software. If that happens, make sure to select React as the framework and JavaScript as the variant. JavaScript is chosen because this lab uses React JSX components.
-
Navigate to the src folder and create a folder named: components.
-
Create a file named: Button.jsx in the components folder and type the following code below:
import { useState } from "react";

function Button() {
  const [count, setCount] = useState(0);

  return (
    <div className="card">
      <button onClick={() => setCount((count) => count + 1)}>
        count is {count}
      </button>
    </div>
  );
}

export default Button;
- In the src folder overwrite the value of App.jsx with the following code:
import Button from "../src/components/Button";
import reactLogo from "./assets/react.svg";
import viteLogo from "/vite.svg";
import "./App.css";

function App() {
  return (
    <>
      <div>
        <a href="https://vite.dev" target="_blank">
          <img src={viteLogo} className="logo" alt="Vite logo" />
        </a>
        <a href="https://react.dev" target="_blank">
          <img src={reactLogo} className="logo react" alt="React logo" />
        </a>
      </div>
      <h1>Vite + React</h1>
      <Button></Button>
    </>
  );
}

export default App;
- On the terminal, ensure that the current directory is the root of the app (react-app) and type the following commands to test the app:
npm install
npm run dev
- Open your browser and enter the url: localhost:5173.

- Terminate the react-app.
Cypress Component Testing - Cypress Setup
- On the terminal, ensure that you are on the root folder of the react-app, install the cypress node packages by typing the command below and press enter.
npm install -D cypress @cypress/react @cypress/vite-dev-server
- Open the cypress app by typing the command below and press enter.
npx cypress open
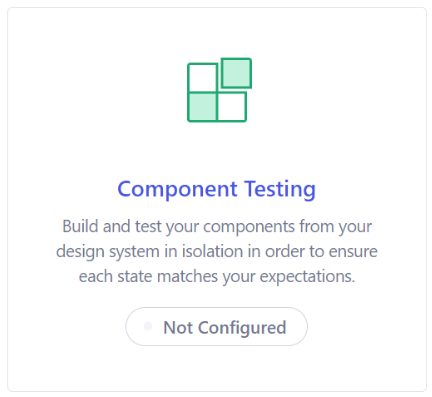
- Click on the Component Testing tile.
-
Click on Next step, then Continue, then Continue.
-
Terminate the cypress app.
-
On Visual Studio Code navigate to the cypress folder and create a folder named: component.
-
Inside the component folder, create a file: Button.cy.jsx and type the following code:
import React from "react";
// Import the component to test
import Button from "../../src/components/Button";

describe("Button Component", () => {
  beforeEach(() => {
    // Load the component at the start of the test
    cy.mount(<Button></Button>);
  });

  it("Renders the component correctly", () => {
    // Look for the button text: count is 0
    cy.contains("count is 0").should("be.visible");
  });

  it("Calls the onClick when clicked", () => {
    // Look for the button text: count is 0 and click on it
    cy.contains("count is 0").click();
    // Since the count will increment by one, look for the button text: count is 1 and click on it
    cy.contains("count is 1").click();
    // Look for the button text: count is 2
    cy.contains("count is 2").should("be.visible");
  });
});
- On the terminal, ensure that the current directory is the root of the app and open the cypress app by typing the command below and press enter.
npx cypress open
- Click on the Component Testing tile.
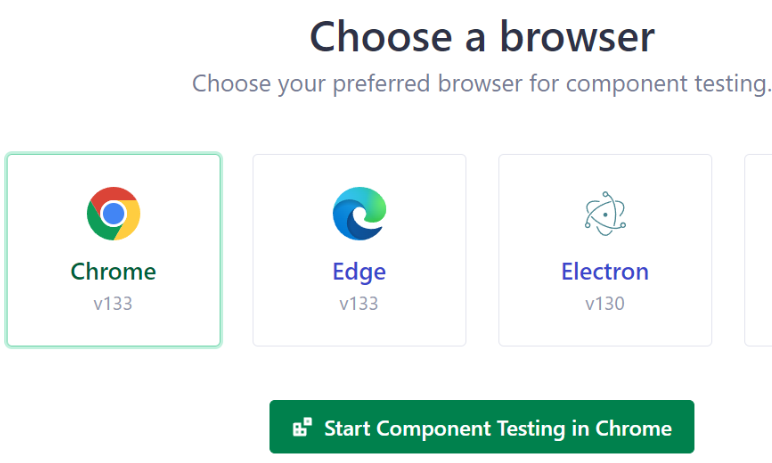
- Click on Chrome > Start Component Testing in Chrome.
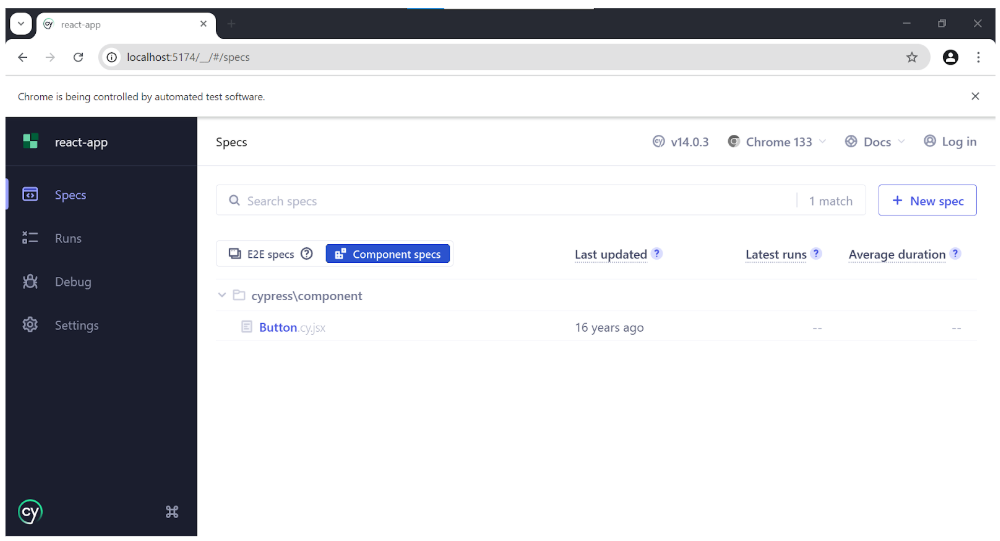
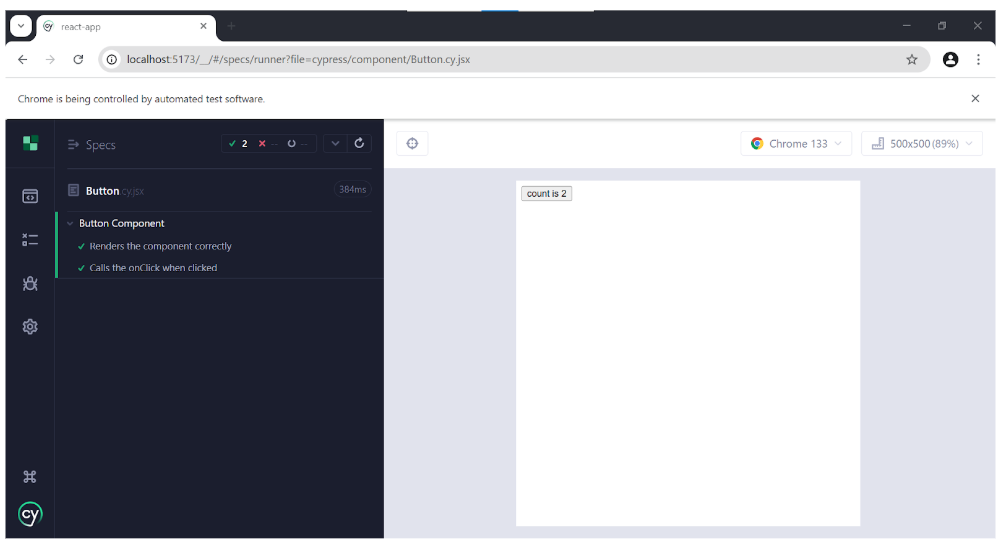
- Click on Button.cy.jsx to run the test. Take a screenshot of the result and name it: component-testing.png.
- If you encounter a blank screen just click on the refresh button of the browser or right click on the browser and choose Reload. If that does not work terminate the Cypress app and start it again by typing the command below and press enter.
npx cypress open
- Component testing can also run via headless mode, open the terminal, ensure that the current directory is the root of the app. Type the command below and press enter. Take a screenshot of the results and name it: component-testing-headless.png.
npx cypress run --component --spec ./cypress/component/Button.cy.jsx
Submission
-
Create a folder named submit.
-
Copy all (cypress-advanced-examples.png, cypress-advanced-examples-headless.png, cypress-gbc-testing.png, cypress-gbc-testing-headless.png, component-testing.png, component-testing-headless.png, and cypress-gbc-testing-headless-error.png if the test failed) the previously saved screenshots to this folder.
-
Create a zip file of this folder.
-
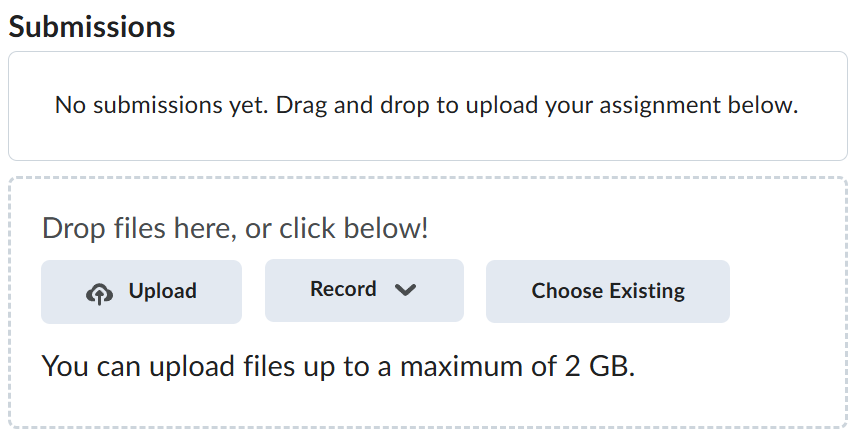
Navigate back to where the lab was originally downloaded, there should be a Submissions section (see below) where the zip file can be uploaded.