Lab-2-1
(10 % of the course mark)
Jenkins Pipelines
- This lab introduces Jenkins Pipelines for automating CI/CD workflows. Participants will create and configure a Jenkinsfile to define build, test, and deployment stages using Declarative or Scripted Pipelines.
Lab objectives
-
Understand the fundamentals of Jenkins Pipelines.
-
Write and execute a basic Jenkinsfile.
-
Integrate version control into the pipeline. ie: Git.
-
Automate build, test, and deployment processes.
-
Utilize pipeline stages, steps, and environment variables.
- Ensure that you have successfully completed the Lab Prerequisites, which describe how to install the Docker Desktop app, download the Jenkins image, and create a Jenkins container. Also, make sure that the Jenkins container is running.
Jenkins Setup
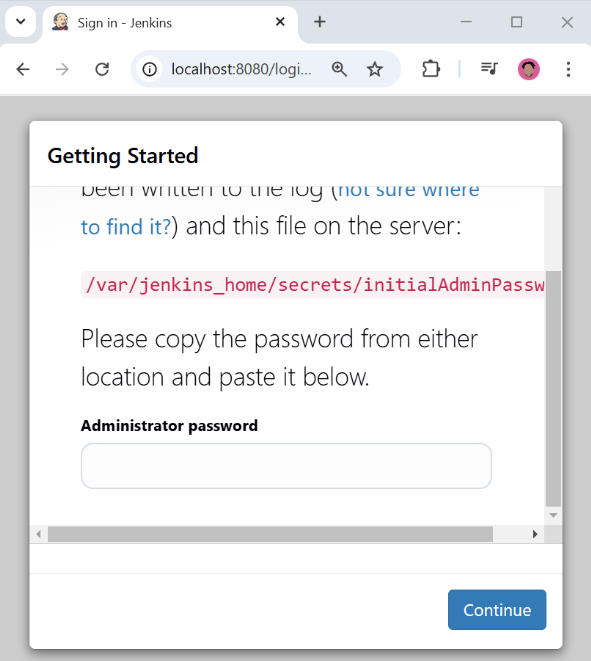
- Open the terminal and type the command below and press enter. This should output a string of numbers and letters, this is the default password for the Jenkins server, copy this password and save it to a file.
docker exec jenkins-container cat /var/jenkins_home/secrets/initialAdminPassword
- Open your browser and enter the url: http://localhost:8080 and use the password that was saved from step 1 to unlock the server.
-
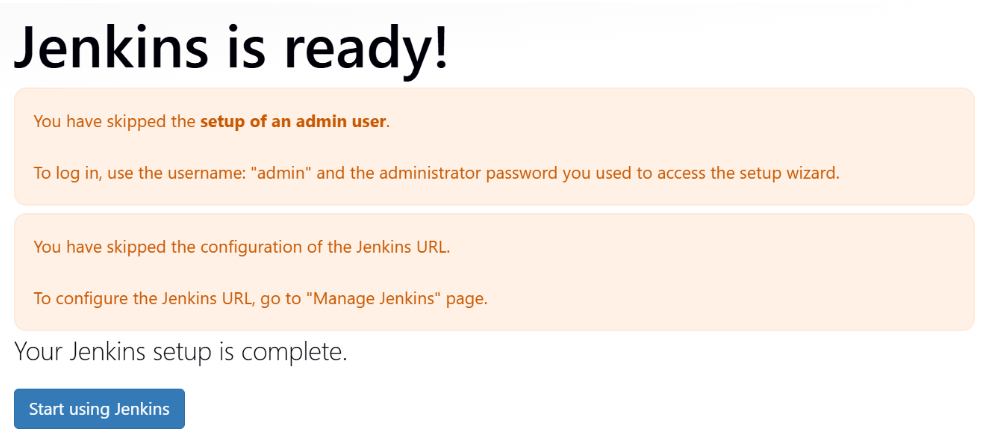
When presented with an option to customize Jenkins and to install plugins, close the dialog. We will install the plugins later.
-
Click on Start using Jenkins.
Install Plugins
-
Click on Manage Jenkins > Plugins > Available plugins.
-
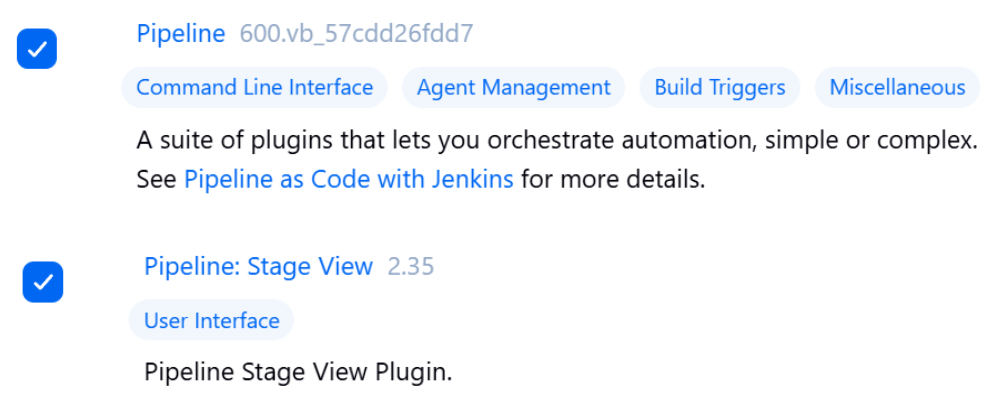
On the search bar enter the text: Pipeline.
-
Install the following plugins.
-
Click on Install, this should automatically download and install the plugin. Wait until it is finished with the installation.
-
Go back to the Available plugins.
-
On the search bar enter the text: NodeJS.
-
Install the following plugin.
-
Click on Install, this should automatically download and install the plugin. Wait until it is finished with the installation.
-
Go back to the Available plugins.
-
On the search bar enter the text: Git.
-
Click on Install, this should automatically download and install the plugin. Wait until it is finished with the installation.
-
Click on Manage Jenkins > Tools.
-
Scroll down to the NodeJS installations section, and click on Add NodeJS.
-
Set the Name as NodeJS and choose the latest version of NodeJS.

- Click on Save.
Hello World - Scripted Pipeline
-
Click on Dashboard > New Item.
-
Set the item name as: hello-world-scripted-pipeline.
-
Choose Pipeline and click on OK.
-
Scroll down until the Script text area is visible, copy and paste the code below:
node {
    stage('Build') {
        echo 'Hello, World!'
    }
}
-
Click on Save.
-
On the left side of the screen, click on Build Now.
-
Take a screenshot of the successful execution of the pipeline item and name it hello-world-scripted-pipeline.png.
-
Hover the mouse to the build stage of the pipeline to see the logs, Click on Log, take a screenshot and name it hello-world-scripted-pipeline-logs.png.
Hello World - Declarative Pipeline
-
Click on Dashboard > New Item.
-
Set the item name as: hello-world-declarative-pipeline.
-
Choose Pipeline and click on OK.
-
Scroll down until the Script text area is visible, copy and paste the code below:
pipeline {
    agent any

    stages {
        stage('Build') {
            steps {
                echo 'Hello, World!'
            }
        }
    }
}
-
Click on Save.
-
On the left side of the screen, click on Build Now.
-
Take a screenshot of the successful execution of the pipeline item and name it hello-world-declarative-pipeline.png.
-
Hover the mouse to the build stage of the pipeline to see the logs, Click on Log, take a screenshot and name it hello-world-declarative-pipeline-logs.png.
- Most teams prefer Declarative Pipelines because they are simpler, more readable, and easier to maintain.
Advanced Declarative Pipeline
-
The declarative pipeline that we are going to define has the following tasks / characteristics:
-
Stages:
-
Checkout - Download the source code from GitHub repo.
-
Build - Execute the command to build the app.
-
Test - Run the test cases for the app.
-
Deploy - Deploy the app to the remote server. For now this step is just a placeholder but normally it should have commands to login to the remote server via SSH and then copy the files over and execute commands to restart the app.
-
-
Uses environment variables to define the repo url and branch name.
-
Uses the NodeJS plugin tool which is used for building the app.
-
Uses a post action which has a success and failure task for accurate logging.
-
Click on Dashboard > New Item.
-
Set the item name as: advanced-declarative-pipeline.
-
Choose Pipeline and click on OK.
-
Scroll down until the Script text area is visible, copy and paste the code below:
pipeline {
    agent any

    tools {
        nodejs 'NodeJS'
    }

    environment {
        REPO_URL = 'https://github.com/roderickkit-bernardo/jenkins-app.git'
        BRANCH = 'main'
    }

    stages {
        stage('Checkout') {
            steps {
                git branch: "${BRANCH}", url: "${REPO_URL}"
            }
        }

        stage('Build') {
            steps {
                echo 'Building the project...'
                sh 'npm install'
            }
        }

        stage('Test') {
            steps {
                echo 'Running tests...'
                sh 'npm test'
            }
        }

        stage('Deploy') {
            steps {
                echo 'Deploying application...'
            }
        }
    }

    post {
        success {
            echo 'Pipeline completed successfully! 🎉'
        }
        failure {
            echo 'Pipeline failed! Check logs for details. ❌'
        }
    }
}
-
Click on Save.
-
On the left side of the screen, click on Build Now.
-
Take a screenshot of the successful execution of the pipeline item and name it advanced-declarative-pipeline.png.
-
This pipeline has many stages, hovering the mouse at each stage to see the Logs button and to be able to view the logs. Take a screenshot of the logs at each stage and name it: advanced-declarative-pipeline-logs-xxxxx.png where xxxxx is the name of the stage.
Submission
-
Create a folder named submit.
-
Copy all (hello-world-scripted-pipeline.png, hello-world-scripted-pipeline-logs.png, hello-world-declarative-pipeline.png, hello-world-declarative-pipeline-logs.png, advanced-declarative-pipeline.png, advanced-declarative-pipeline-logs-tools.png, advanced-declarative-pipeline-logs-checkout.png, advanced-declarative-pipeline-logs-build.png, advanced-declarative-pipeline-logs-test.png, advanced-declarative-pipeline-logs-deploy.png and advanced-declarative-pipeline-logs-post.png) the previously saved screenshots to this folder.
-
Create a zip file of this folder.
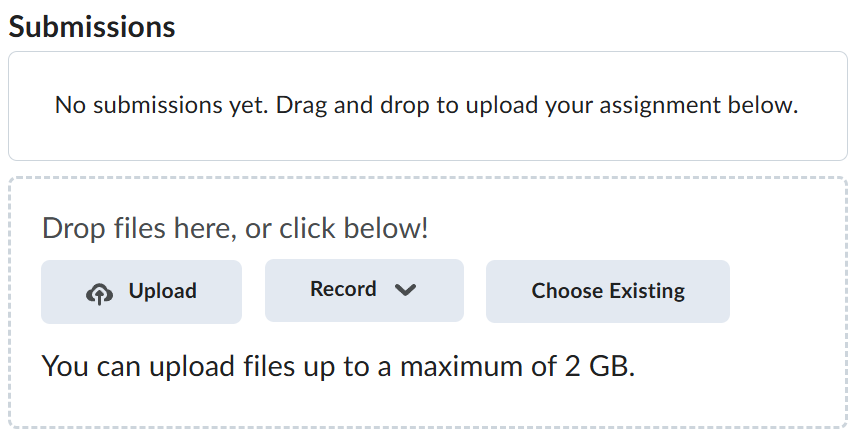
-
Navigate back to where the lab was originally downloaded, there should be a Submissions section (see below) where the zip file can be uploaded.